Manual Givenergy Gateway Upgrade Procedure via USB
givenergy gateway firmware upgrade by usb
To upgrade the GivEnergy Gateway firmware via USB, you must first obtain the correct firmware file from GivEnergy support and use a properly formatted USB drive.
Important Notes:
This procedure should ideally be performed by a qualified installer or under the direction of GivEnergy support.
Ensure the firmware is correct for your specific Gateway model; using the wrong file can cause malfunctions.
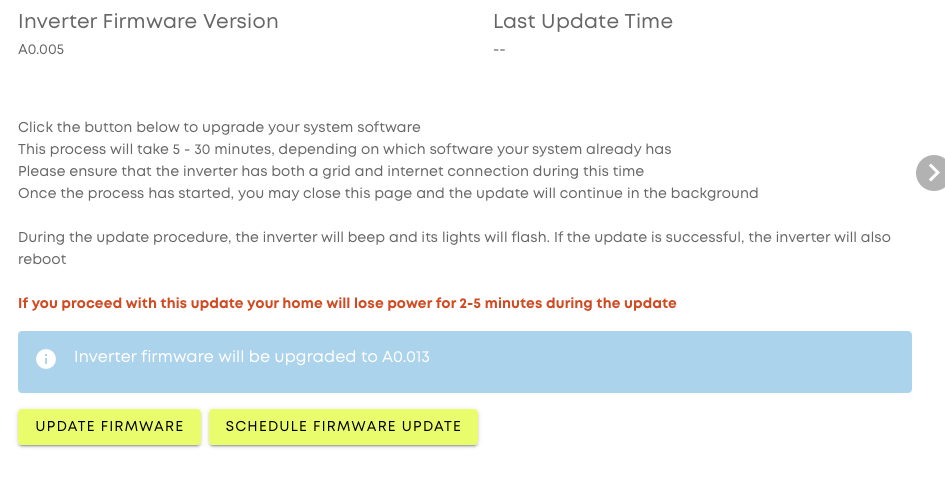
The automatic update via the GivEnergy portal is the primary method; the USB method is for when the automatic update fails.
Step-by-Step Guide
Obtain Firmware Files: Contact GivEnergy support (support@givenergy.co.uk) or check your installer portal to get the latest, correct firmware files for your specific Gateway model. The file is usually provided as a ZIP archive.
Prepare a USB Drive:
Use a USB-A drive, preferably with a capacity lower than 4 GB.
Format the USB drive to FAT32 (or FAT/FAT16) file system. Ensure the "quick format" option is ticked.
Transfer Files to the USB Drive:
Download the ZIP file to your computer and extract its contents to your downloads folder.
Copy the extracted firmware file(s) onto the freshly formatted, empty USB drive. Do not keep the files in a folder on the USB drive; they should be in the root directory.
Safely eject the USB drive from your computer.
Prepare the Gateway:
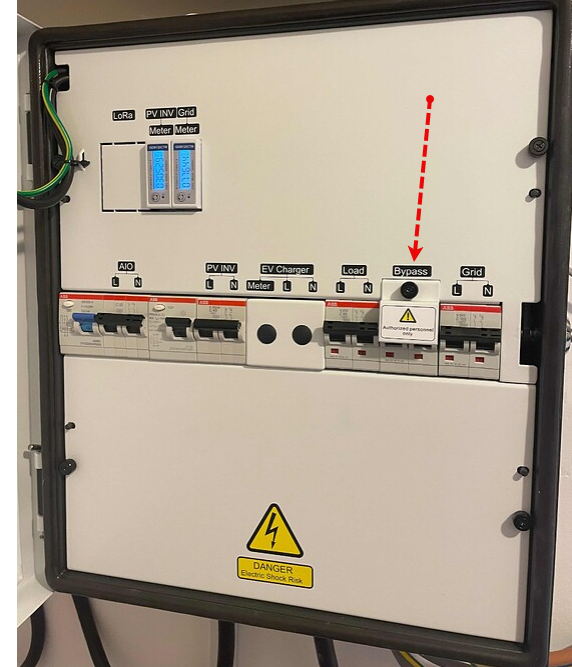
Isolate the system using the DC isolation switch (usually a red or green handled switch between the inverter and battery).
Turn off the battery/inverter unit using its power button.
Remove the front cover of the Gateway unit to access the internal ports and DIP switches.
Take a picture of the current DIP switch settings for reference, then set all DIP switches to the 'down' or 'off' position.
Perform the Update:
Insert the USB drive into the designated USB port on the Gateway (often near the DIP switches).
Turn the system power back on. The update process should begin automatically, indicated by a status light flashing alternately red and green.
The update process can take several minutes (up to 30 minutes). The unit may restart and possibly emit a continuous beep.
Finalize the Update:
Once the update is complete and the unit has finished restarting (lights will change/stop flashing rapidly), remove the USB drive.
Return the DIP switches to their original configuration, matching the picture you took earlier.
Secure the front cover back in place.
Turn the DC isolation switch back on.
Allow a few minutes for the Gateway to fully reconnect and come online with the GivEnergy systems.
If the process fails or you encounter issues, repeat the steps or contact GivEnergy technical support for assistance.